A common question for beginning cyclists: “How do I ride without back pain, wrist pain, and butt pain?” Uncomfortable, most likely physical harm has been done.
Newbies to road bikes who are just starting to ride often think that picking a road bike of the right size is enough to start riding, but in fact, you need to do a lot of settings to find the most comfortable riding position for a road bike.
If you’re buying a used road bike, or just picking it up online, you’re likely to spend more to improve your road bike ride settings.
The following teaches you to optimize the riding road bike position and say goodbye to fatigue and soreness!
How to improve your road bike position ( Riding Posture )
How to choose the frame size of a road bike?
When you first go to a bicycle shop to buy or rent a road bike, the first thing asks is: “How tall are you? What’s your span length?” The absolute key to improving your road bike position is to choose the right size of your road bike.
Many road bike frames are typically sized one by one based on their seat tube length (XS, S, M). Regardless of the method any brand uses to quantify size, effective cockpit length (from seat to handlebar) is the primary determinant of basic fit. Most bike companies have bike size-to-height charts on their websites.
For sure, those quantified road bike frame-to-height charts aren’t your most comfortable riding road bike position either, especially understanding the specifics of road bike geometry, depending on leg length or arm length, but first Identifying the frame size of your road bike is definitely a good starting point for improving your road bike riding position.
In addition to height, another size that can be confirmed for a suitable road bike is “crotch-to-floor height (leg length)“, the purpose is to ensure that you have enough clearance on the top tube to safely get on and off is the keypoint.
There should be space between you and the top of the bike for two fists to go in.
The following is a “reasonable basic setting” for the bicycle size and people’s height, which is not suitable for “reasonable detailed setting”.
This provides the convenience of choosing a suitable size during the bicycle rental process:
| Height | Road Bike | Touring Bike | eBike |
| 110cm | X | 12-inch | – |
| 110-130cm | X | 16-inch | – |
| 130-140cm | X | 20-inch | – |
| 140-150cm | X | 24-inch | |
| 147cm – 155cm | 41cm | XS | XS |
| 156cm – 160cm | 43cm | XS | XS |
| 161cm – 168cm | 46cm | S | S |
| 168cm – 172cm | 49cm | S | S |
| 172cm – 175cm | 52cm | M | M |
| 175cm – 179 cm | 53cm | M | M |
| 181cm – 185cm | 55cm | L | L |
| 185cm – 190cm | 56cm | XL | L |
| 190cm – 200cm | 59cm | XL | – |
4 Major Settings For Road Bike Position
Setting 1: Seat Tubing Height
One of the common questions that many newbie cyclists have is “how do I get rid of a sore butt?” – which means it takes a while for your body to get used to the stress and new riding position required to ride. Although there will be a little soreness at first, we should not feel so much pain that we cannot continue riding, or even cause permanent damage due to the wrong posture.
Most of the problems with the riding road bike position of many beginners on cycling tours are: It is usually caused by sitting too low and putting all the weight of the body on the hips.In addition, it will cause the leg muscles to not fully extend, and the force will press on the knees and cause pain; sitting too high will overextend the muscles at the back of the legs.
The following formula can be used as a reference for determining the height of the seat cushion:
Length of span × 0.885 = the length from the central chainring to the upper edge of the seat cushion (measured along the extension of the seat tube)
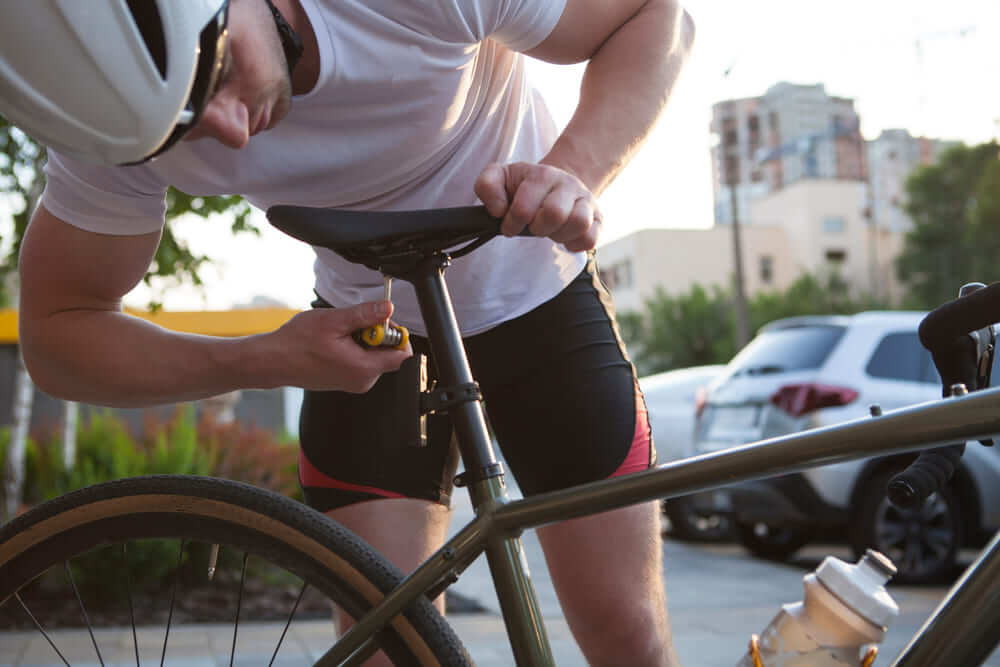
Adjusting the seat height is the easiest and obvious way to improve riding comfort.
1. To Adjust The Seat Height:
Method 1: Make sure the seat is as level as possible. When you sit on the seat, your foot steps on the pedal to the lowest point, the legs can be slightly bent or straight.
Method 2: Usually the height of the seat tube will be between the waist and the hips.
2. Adjust the front and rear position of the seat cushion: Sit on the seat and step on the pedal to the position where the crank (the cross bar between the pedal and the shaft) is parallel to the ground, and the vertical line of the knee joint just passes through the shaft of the pedal.
Setting 2: Seat angle
It is also important to place the seat in the correct position forward and back.
That is to allow the pedals to apply maximum power, which is achieved when the knees are above the pedal axis when the cranks are in the 3 o’clock position. Crank length and cleat position also affect this (more on that later).
As for the saddle angle, you have three options: flat, up, or down.
If you’re not sure at which angle to place it, start with a flat surface, then adjust later if you have any questions.
Setting 3: Handle Bar

The height of the handlebar, one of road bike position is the most important will directly affect the bent angle of the body and the pelvis.
For example, when the handle is too high, it will lead to a concave back, the core muscles of the abdomen are difficult to exert power, and the excessive contraction of the muscles of the lower back will also cause the pressure between the lumbar facet, joints to be too large and dislocated; otherwise.
When the handle is too low When the body leans forward, it will also cause back arching. This action will put a lot of pressure on the intervertebral disc, and it is also one of the most common causes of lower back pain among cyclists.
- Forward or back adjusting the seat cushion: After the seat cushion position is determined, put your elbow on the seat cushion and touch the stem with your fingers.
- Adjustment Width: Roughly equal to shoulder width. If it is larger than the shoulder width, it will increase the wind resistance; if it is narrower than the shoulder width, the hand will squeeze the chest when holding the handle, affecting normal breathing.
- Adjust the height: If the bicycle has an upturned handlebar, it is recommended that the handlebar be 3-5 cm higher than the seat cushion; if it is a parallel handlebar, it can be kept at the same height as the seat cushion; the downward-curved handlebar is suitable for the upper part of the handle to be the same height as the seat cushion.
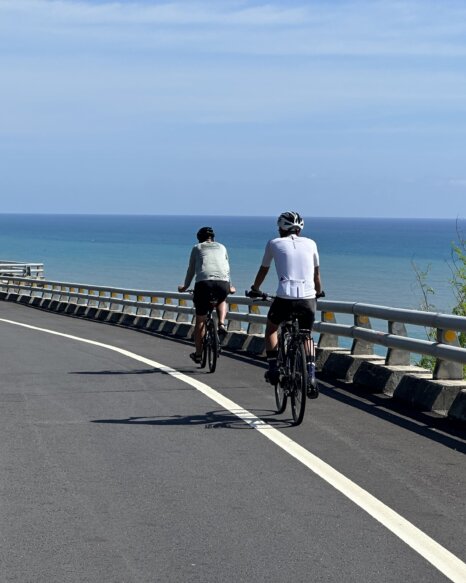
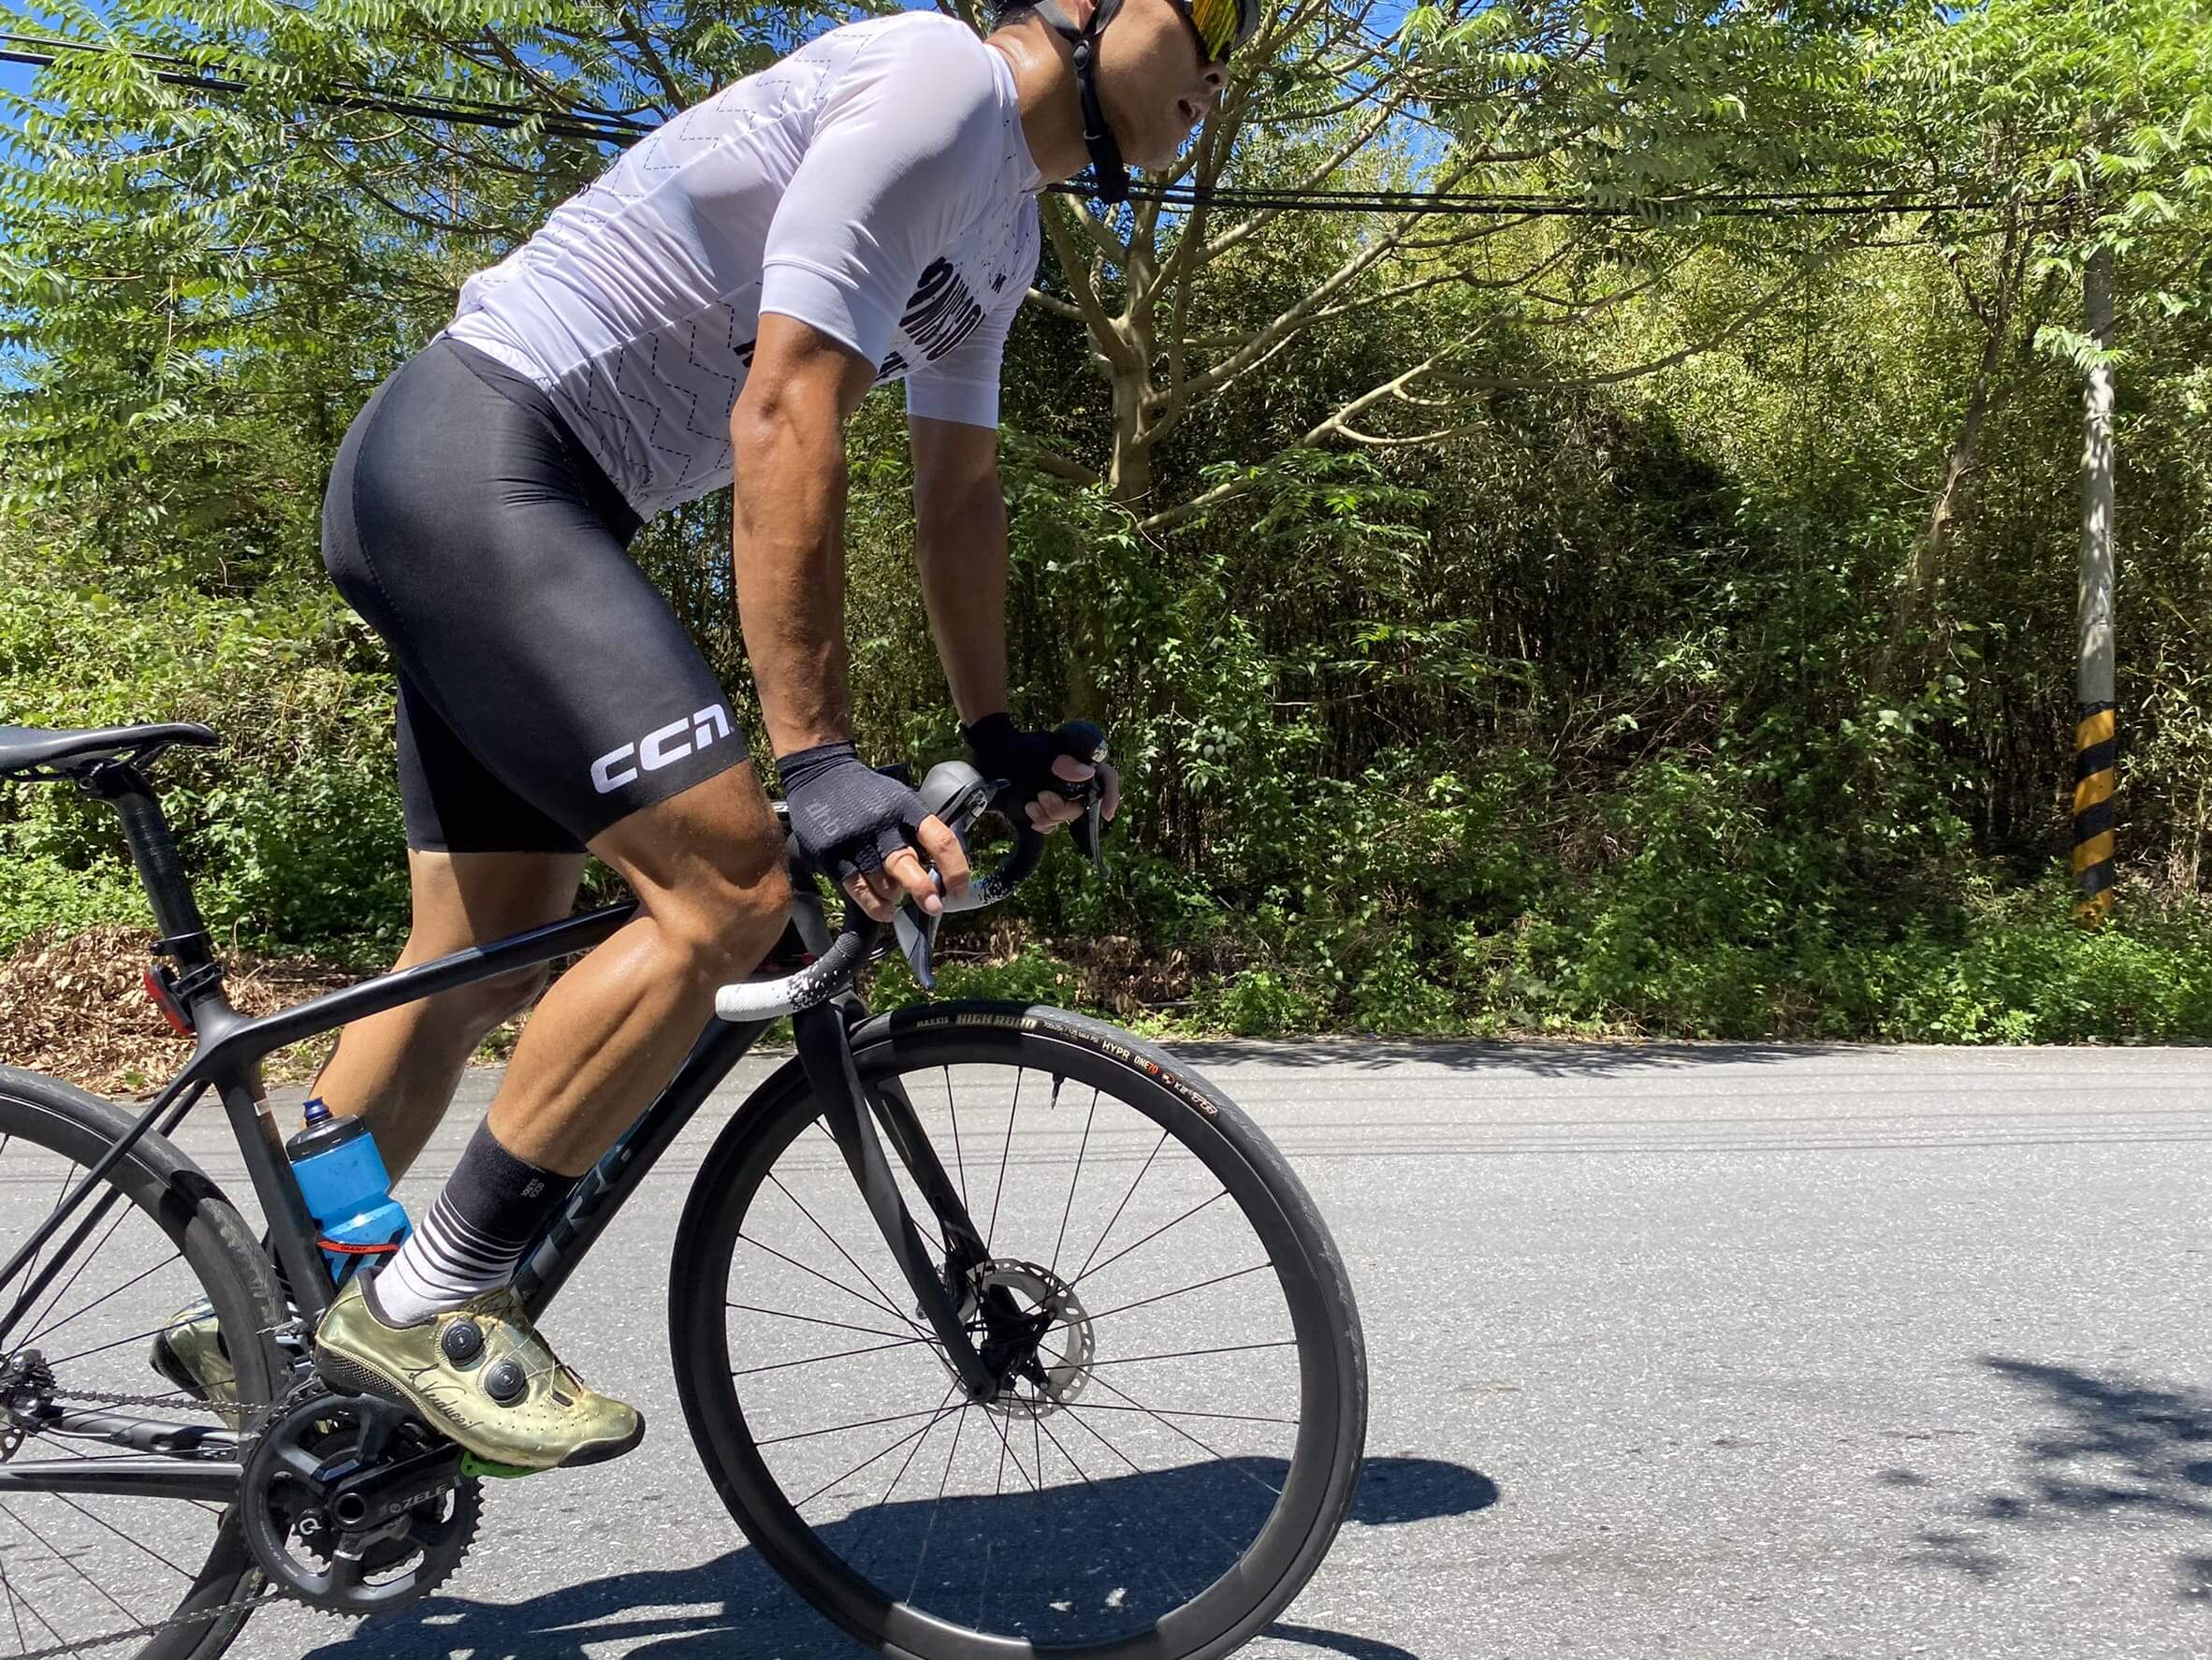
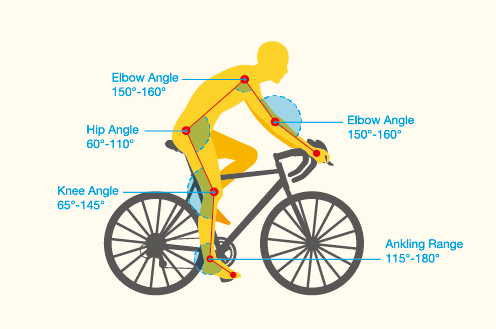
A good riding posture should be to place your hands lightly on the handlebars, bend your elbows slightly and adduct them to be parallel to the top tube, relax your shoulders without shrugging your shoulders, and tuck your stomach slightly so that your lower back forms a slight arc.
This posture will make you feel comfortable while riding. This riding road bike position can be evenly distributed, and it can also have a good absorption mechanism when encountering shell shocks.
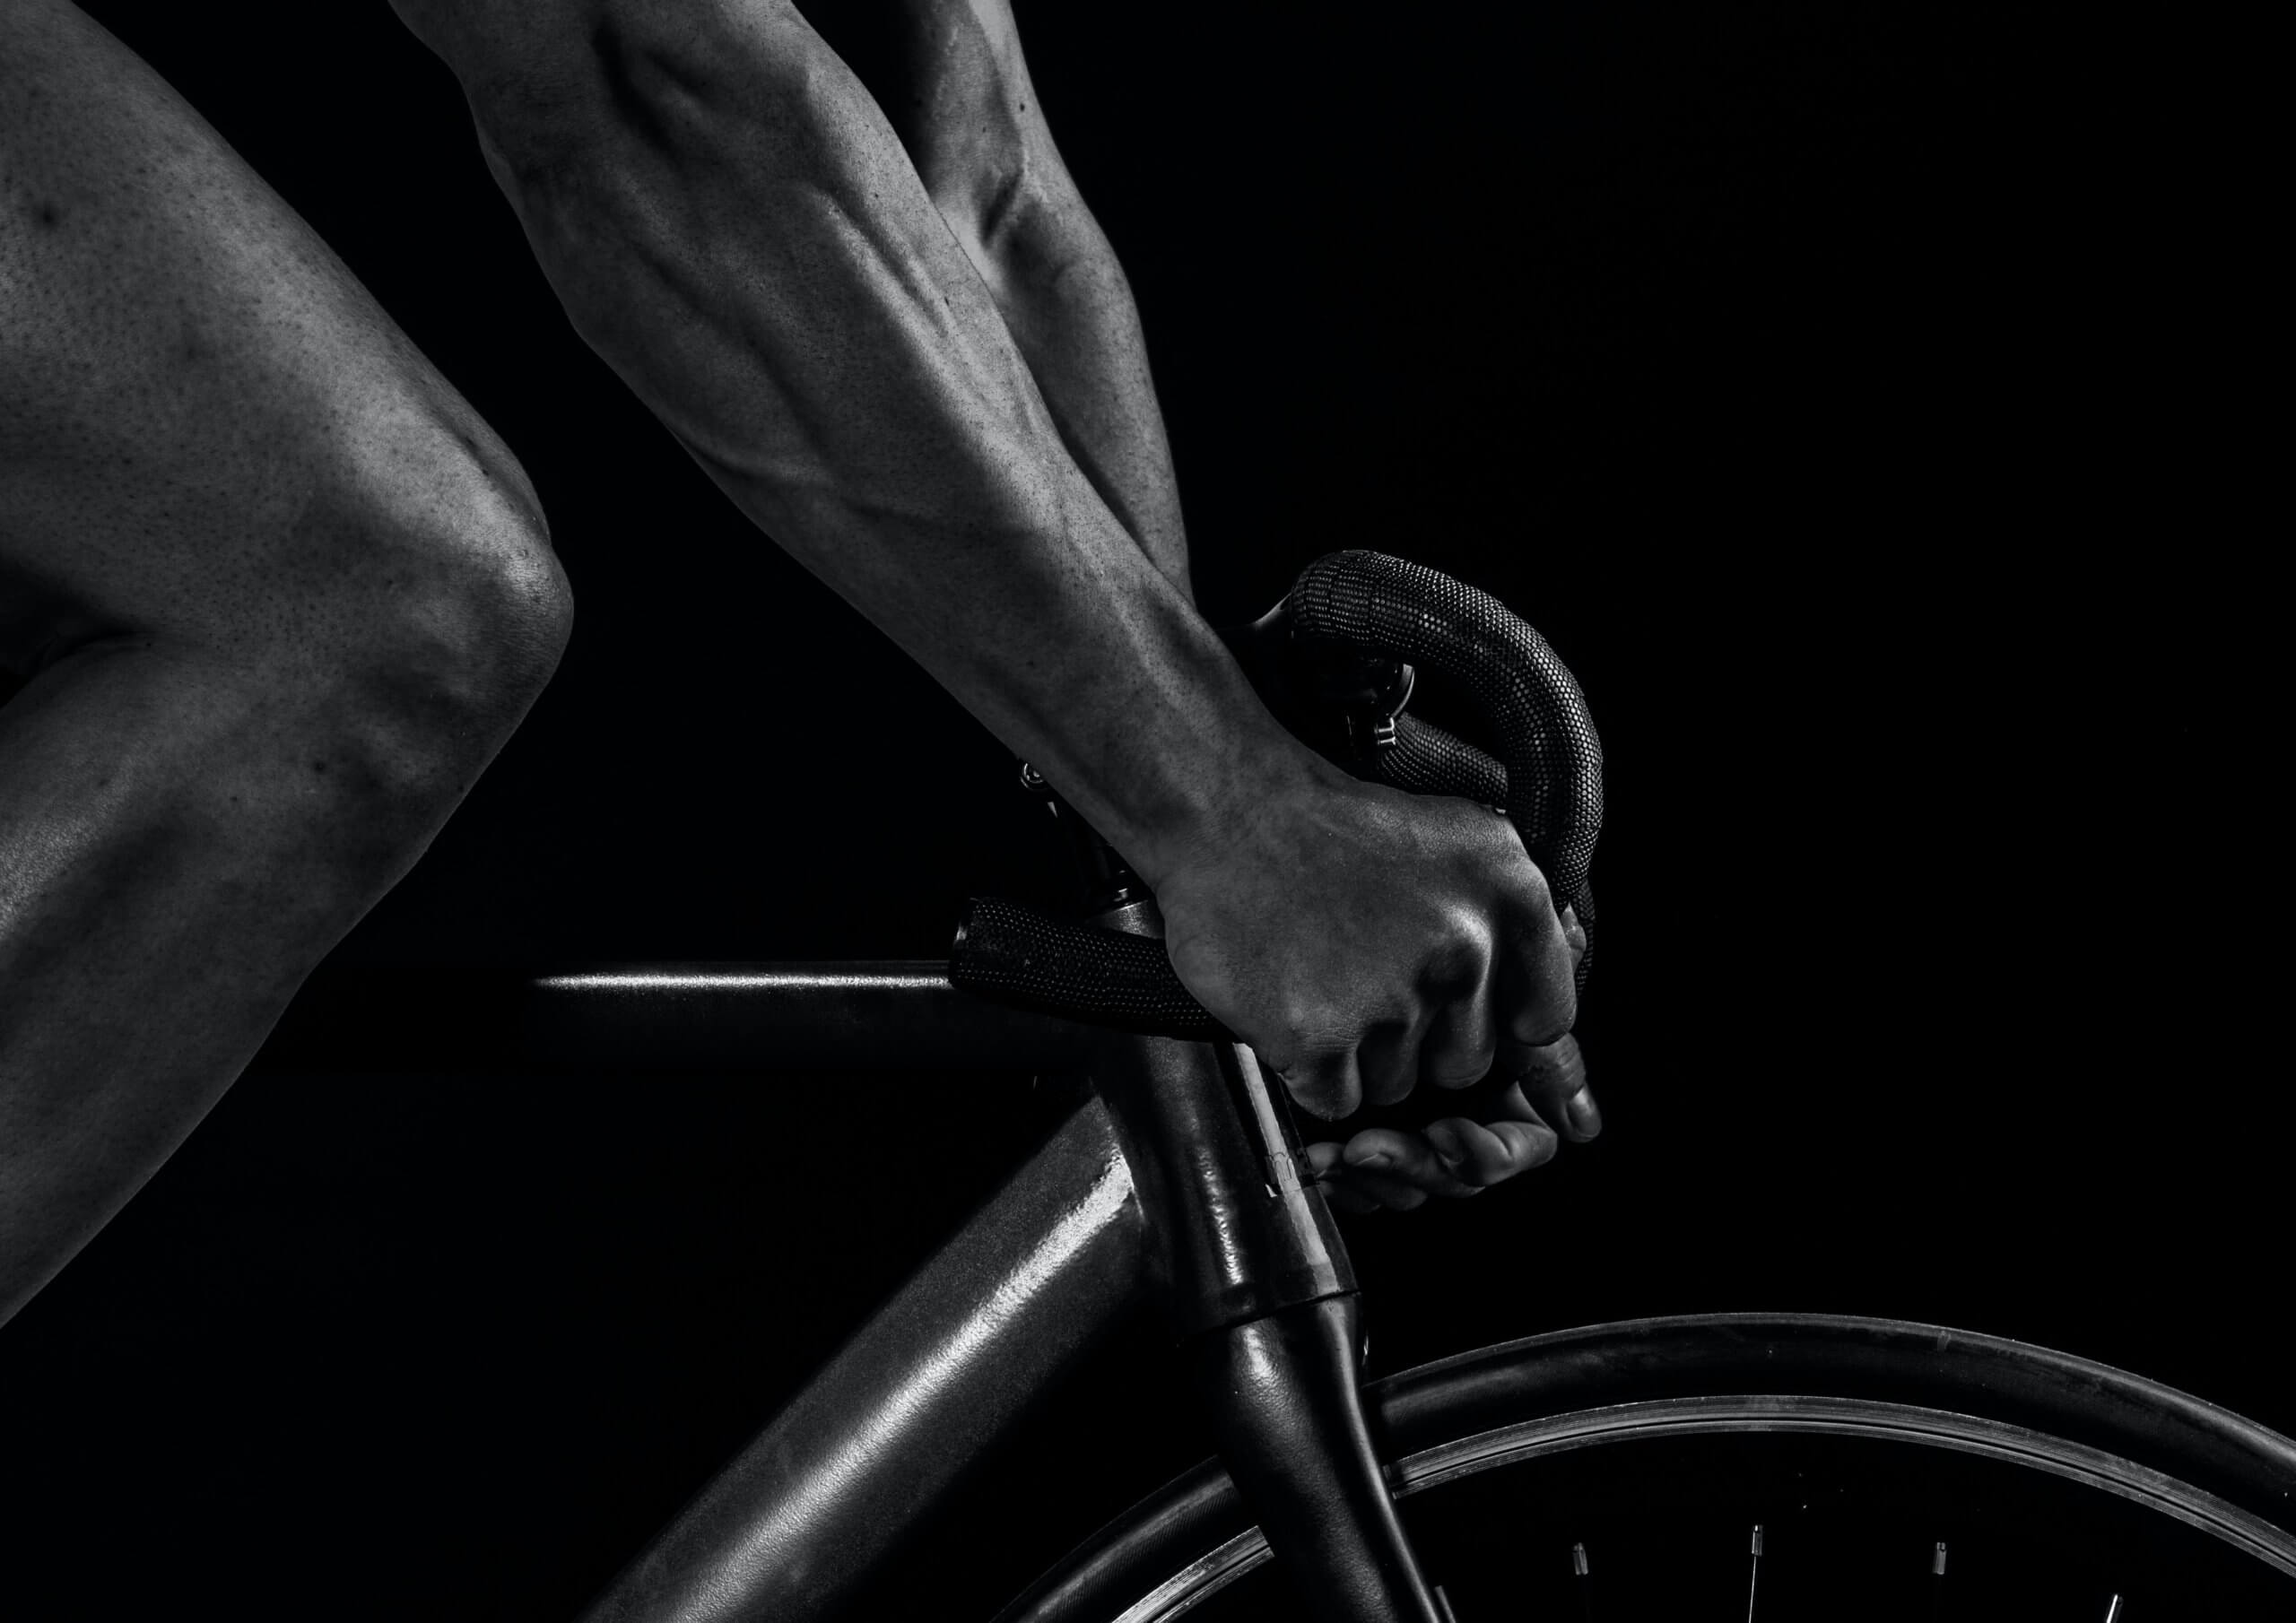
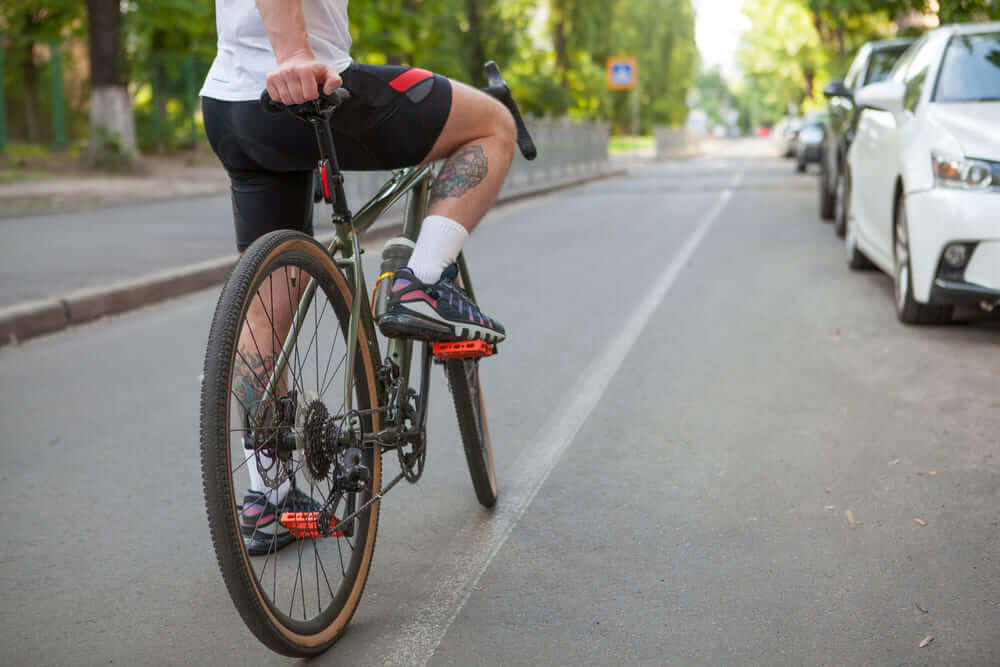
Setting 4: Pedal
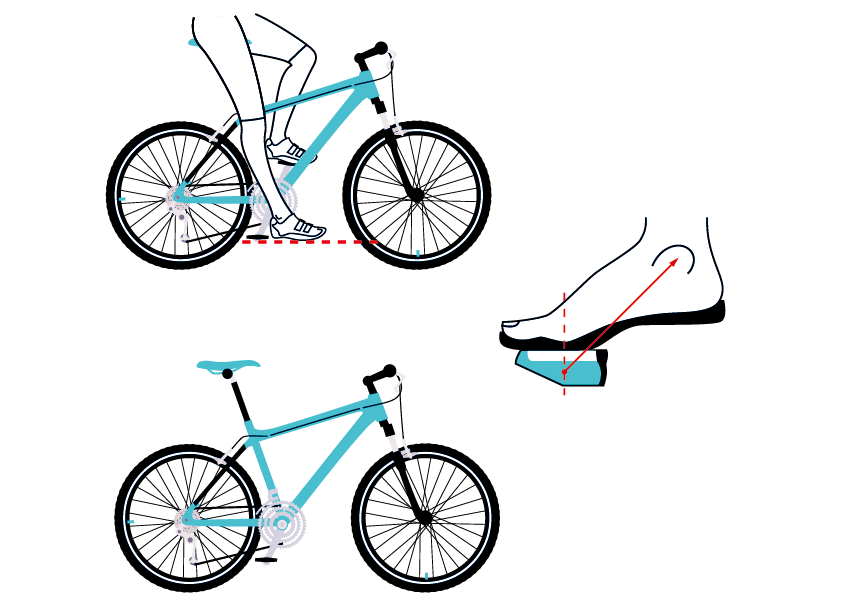
The correct position for pedaling is the forefoot put on pedals. Keep your knees forward as you pedal, and when you pedal down, the knees will be slightly inward, and when you lift up, the knees will open slightly outwards.
However, if the angle of adducting your thigh is too large and you have pain in the front knee, you can stretch and relax the muscles and fascia on the outer thigh, which may have a good effect!
3 Key Points to Improve Road Bike Position Comfort
1. Butt position
After we set the seat height and seat angle, in order to achieve stable riding and efficient pedaling power, the rider touches his buttocks to find the two positions of the ischial bones on both sides, and places them on the widest part of the seat cushion, and the sitting position should not be slanted or only part of the seat. It is recommended to wear cycling pants, which can effectively relieve the discomfort of the perineum and thigh caused by friction and prolonged sitting.
2. How to get on and off your bicycle
- Picking one of the right frames depends on whether there is enough space between the top tube and your crotch to fit a fist in without touching your body. When the seat cushion is adjusted to a right height, when the road bike is standing upright, the seat cushion height is high, and it is difficult for beginners to step across top tube. So the following steps show you how to get on and off your bike:
How to get on a bike
- With the side of the bike lowered, you can step into the bike gracefully.
- After stepping across the top tube, don’t rush to sit on the seat cushion, first stand on steadily, and foot to hook the pedal to the direction of 2 o’clock to 3 o’clock.
- Stand with one foot flat on the ground, with the other foot on the pedal, step down on the pedal and move forward, and the buttocks will sit on the seat cushion.
How to get off the bike
- When the bike is still moving, prepare for the parking action, stand on the pedal and leave the buttocks and move to above of the top tube, showing the posture of standing on the bike.
- With one foot firmly on the pedal and the other on the ground, the butt is still above the top tube.
- Stand firmly on the ground with one foot, slope the bike down, and you can step across the bike with ease.
3. Correct pedaling skill
1) Relax your shoulders
Relaxing your shoulders also keeps your head flexible, making it easier to notice road conditions in all directions while riding.
2) Keep the elbows slightly bent, the elbows and the bowl need to be in a straight line
Keep your elbows bent, it can have the same effect as a shock absorber.
When riding a road bike, the elbow position will be closer to the sides of the body instead of expanding outward, which can also reduce the pressure on the shoulders and reduce the pressure on the palms.Your wrists should also not be bent, and your elbows should be in a straight line from your fingers to apply the brakes.
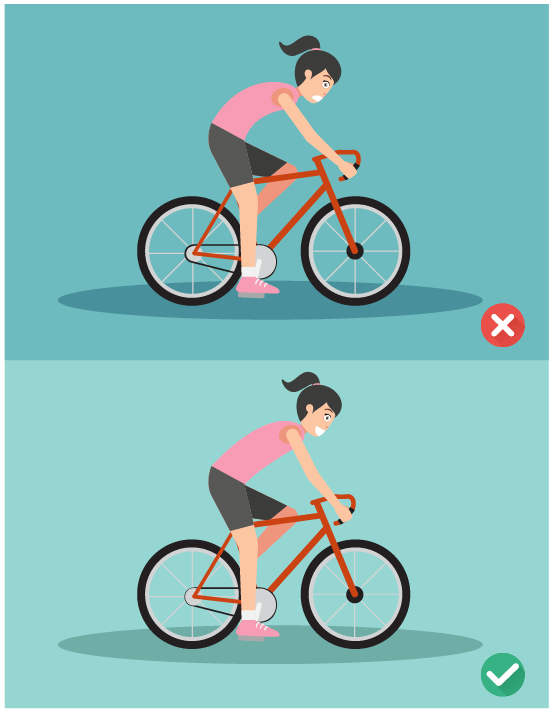
3) Hold the core muscles hard, bend the back naturally forward, and keep the spine and cervical spine straight
Your back should bend naturally forward in your road bike position, keeping your hips in a straight line with your shoulders. The way to use the core is like “squeezing your tummy and holding it tight”, the body will bend down naturally, the elbows are slightly bent and adjusted to be in line with the wrists, if your back cannot be in a straight line, it will look like an arched back. In that case, it’s likely that the bike frame size was chosen too small.
How To Choose A Suitable Touring Bike When Renting?
So many customers who come to MathewBike to rent bicycles are those who do not have the habit of riding bicycles and do not know how to choose a bicycle suitable for themsloves. The best entry-level models for beginners in cycling tours are two types of bicycles:
- Road bikes: the lightness of riding, the newbies mainly uses flat-handled road bikes
- Touring bike: A model that riding comfort.
MathewBike provides a half-hour free trial ride. Only after such a trial ride can you know what kind of bike you should choose to follow you on this ten-days cycling trip around Taiwan. Before renting a bike, learn about:
How to choose a bike that suits you cycling around Taiwan? 6 bike models recommend for you!
Must-do Warm-up Exercises Before Starting A Bike Ride
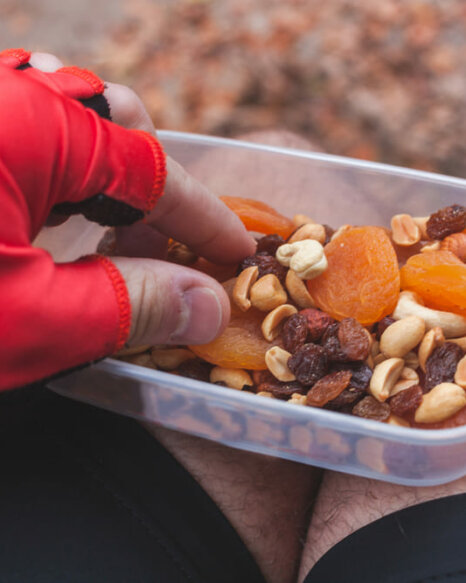
Warm-up before exercise and cool downafter exercise are more important than exercise itself! The amount of warm-up exercises you do before exercise can improve your exercise performance! The most important thing about warm-up exercise is to “prevent sports injuries” to achieve the following two purposes:
- Warm up the body and mind: Promote blood circulation, first distribute the blood in the muscle groups and increase the oxygen uptake, and also prepare yourself to enter a state of intense exercise.
- Prevention of sports injuries: The joint movements in many warm-up exercises are aimed at increasing muscle extensibility and joint mobility, as well as increasing nerve conduction responses.
There are two types of “warm-up exercises”:
- Warm Up Before Exercise
- Cool Down After Excerise
Whether it’s a warm-up before exercise or a cool down after exercise, the main purpose is to make exercise safer, avoid instantaneous overly intense exercise reactions, and reduce the risk of sports injuries.
For more details, please refer to: Cosmopolitan